



How to Use Gemini on Mac to Turn a Mascot Sketch Into a Blender Scene
SUMMARY
To turn a mascot sketch into a Blender scene, choose Task in the Gemini app for Mac, mention @Computer use, and ask it to work from a copy of the drawing. Give the scene a filename and ask Gemini to stop after the first pose. Google began rolling out Computer use on November 19, 2026, to eligible adult subscribers using personal accounts in English in the US. Reopen the draft in Blender and compare the mascot's outline and markings with the drawing. Once you approve a pose, you can give Stillmore a reference frame and your product photos. Its team can make the promotional image or video and caption for you to publish.
Contents

How does Computer use work with Blender on Mac?
Computer use lets Gemini operate Blender through the Mac app's interface. You describe the work in Gemini and grant access to Blender. Gemini can click, type and navigate menus in a separate window while you watch a preview. You can keep using the main screen and stop the task from the chat. November 19 Gemini release notes
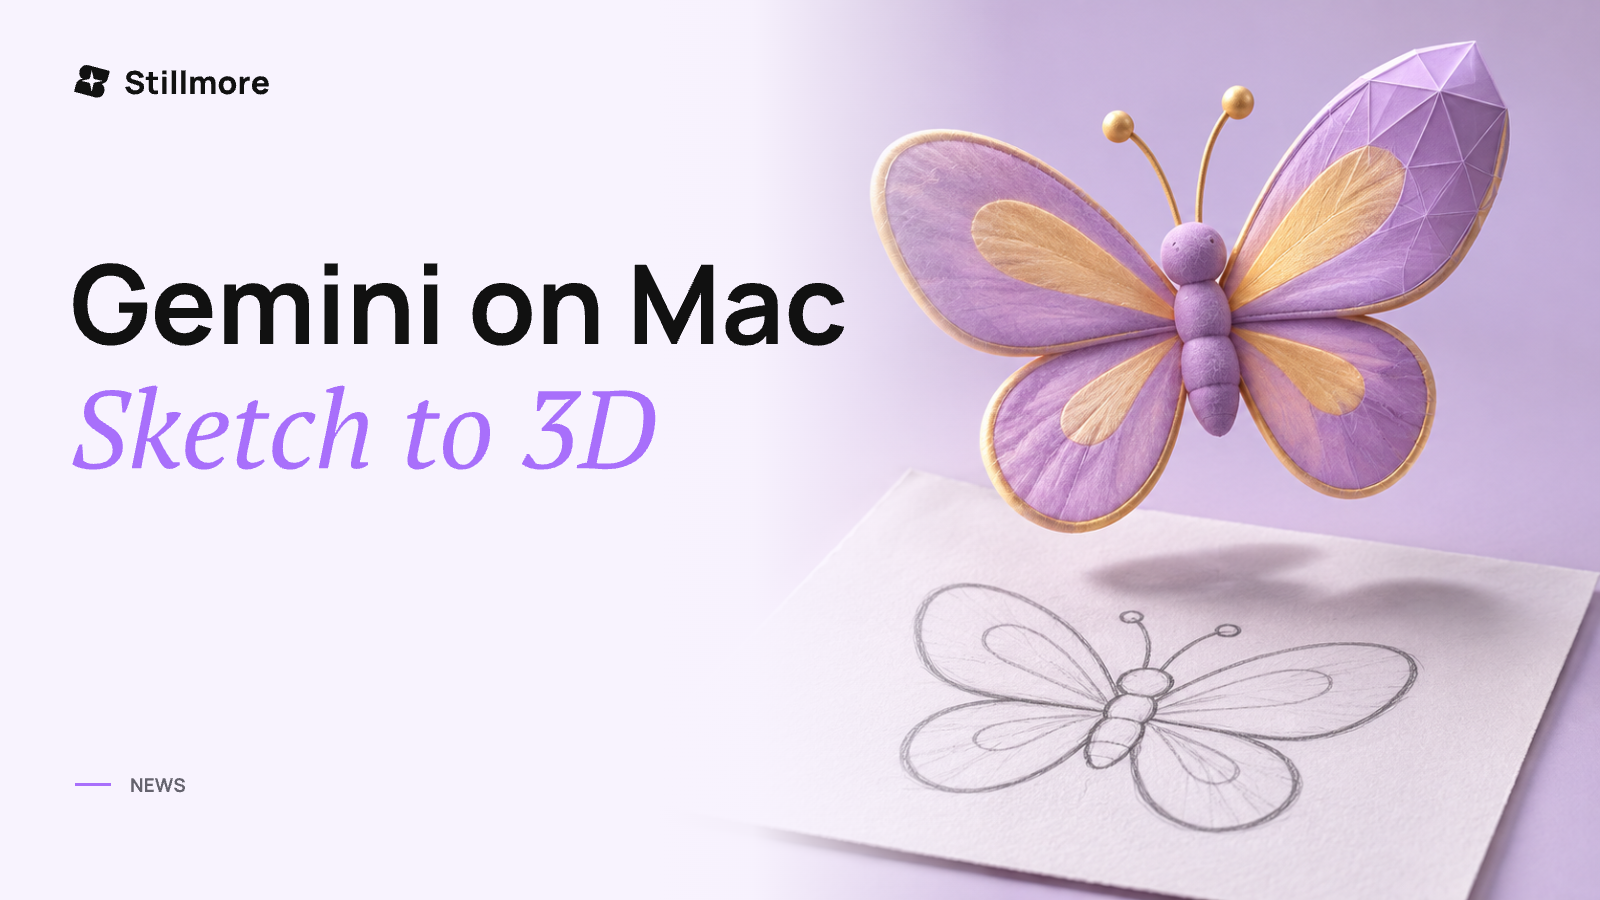
Google illustrated the launch with a child's drawing of a butterfly and a request to model and rig it in Blender. Modeling gives the butterfly its shape. A rig gives an artist controls for moving parts of it, such as the wings. A drawing can be enough to propose a shape, even when the artist still needs to decide what the character looks like from the side. Google's Mac computer-use launch demonstration
Consider a different drawing for this walkthrough. A stationery shop wants to feature the red bird from its packaging beside a stack of greeting cards. The drawing gives the bird a short triangular beak and a cream patch on one wing. The owner's first decision is whether customers will still recognize the bird when it turns toward the cards. One editable scene and one still image are enough to review that decision.
1. Check your Mac, account and permissions
Start by checking that your Mac can run Gemini and that the account you plan to use qualifies for Computer use. Open About This Mac to check the chip, memory and operating system. Open Blender as well so you know you can inspect the project on this machine when the task ends.
| What to check | Requirement at launch | Where to look |
|---|---|---|
| Chip and memory | Apple silicon and at least 8 GB of RAM | About This Mac |
| Operating system | macOS Sequoia 15.0 or later | The macOS version in About This Mac |
| Installation and connection | At least 200 MB free for the Gemini installation and a stable internet connection | Available storage and the connection you will use during the task |
| Google Account | A personal account belonging to someone aged 18 or older | The profile signed in to Gemini |
| Subscription and availability | Google AI Plus, Pro or Ultra, using Gemini in English in the United States | The plan on that account and the language in use |
Google lists the technical requirements for the desktop app separately from eligibility for Computer use. An administrator can enable the desktop app for a work or school account, while this feature launched for personal accounts. If Gemini is already installed, choose Check for Updates in the Gemini menu. The installation space in the table covers Gemini itself. Leave room for Blender and your project files as well. Gemini app for Mac requirements
In Gemini's Settings, open Computer use and turn on Allow Gemini to work with your Mac. Enable Accessibility and Screen & System Audio Recording for Gemini when prompted. You also choose which apps it may operate. For the shop bird, Allow once lets you approve Blender for the step or chat without adding it to the permanent list of allowed apps. Google's Mac computer-use instructions
2. Prepare the drawing and name the draft
Put one copy of the sketch in a working folder and pick a new filename for the scene. Keep the original drawing elsewhere. A specific input matters when the original sketch, a cropped logo and last year's recolored bird all have similar names. Use the version that shows the features you actually want on the model.
Google offers on-demand file backups in the Computer use settings. Gemini tries to make a temporary backup before editing, but coverage depends on the app and its permissions. A separate working copy lets you return to the artist's drawing even after the temporary backup expires. Google's file backup instructions
For the stationery shop, a folder named Shop Bird Draft could hold the following materials. The filenames are examples. The two output names describe what the owner wants to keep after review.
| Item | Example | Decision it settles |
|---|---|---|
| Drawing to use | shop-bird.png |
Which version of the mascot should Blender use as its reference? |
| Two identifying details | Short triangular beak and cream wing patch | Which details should survive the move from a flat drawing to a 3D shape? |
| Editable scene | shop-bird-draft.blend |
Which file should the owner reopen to check the pose from another angle? |
| Still for approval | shop-bird-front.png |
Which framing should a colleague use when reviewing the proposal? |
A front drawing gives you little evidence about depth. For the first pass, a rounded body and a plain background give the shop owner a clear view of the features they already know. Leave decisions about feather texture or the back of the bird until there's a drawing or a reason to settle them.
3. Ask Gemini for a first pose in Blender
Click Task below the chat box in Gemini. Mention @Computer use and name Blender, the reference, the scene to save and the point where you want control back. For this first pass, ask for a rough mesh, the 3D surface that defines the bird's shape. A neutral pose with the wings at rest makes it easier to compare proportions.
@Computer use Open Blender and use shop-bird.png in the Shop Bird Draft folder as the reference. Make a rough mesh of the red bird with its short triangular beak and cream wing patch. Place it in a neutral pose against a plain background with the marked wing visible. Save the scene as shop-bird-draft.blend in the same folder. Stop after saving so I can review the pose.
Google puts a live preview in the task chat. Click Full screen if the filename or app is hard to read. When the wrong drawing appears, use Stop task and inspect the working folder before starting again. Correct the input filename in the next request. That saves you from giving detailed feedback on a model based on the wrong bird. Google's Mac computer-use instructions
Add a pose control only when you have a question that requires movement. For example, the shop might want the wing raised just enough to point toward a greeting card. Ask for a simple control for that wing in a second copy of the scene. For a bird that will stand still on a shelf card, the owner can go straight to checking the camera angle.
4. Check the scene and save one proof frame
Open the saved Blender scene yourself. Set the drawing beside the Blender window, match its viewing angle and compare the outline before you inspect the colors. Then turn the view slightly. A beak can look triangular from the front and much too long from the side.
A proof frame is a still from the camera angle you intend to use. Once you have a promising view, frame the bird, render a single still and save it in the working folder. Open that image at the size people will actually see on a phone or a printed card. Zooming in can hide a practical problem. A cream patch that looks distinct in Blender may disappear completely in a small post.
| What looks wrong | What to inspect | A useful correction |
|---|---|---|
| The bird looks like a different character | Compare beak length with head width at the drawing's angle | Shorten the beak and keep its triangular outline |
| The wing looks solid red | Turn the bird slightly to see whether the patch exists on the visible wing | Restore the cream patch or turn the marked wing toward the camera |
| The wing pulls the body out of shape | On a copy, move the wing control a little and watch where it joins the body | Revise the control before asking for a larger movement |
| The silhouette is hard to read at post size | Check the gap between the beak, wing and intended product position | Adjust the framing and export the same view again |
Record one decision alongside the still. For example, “Keep the angle. Restore the cream patch before changing the lighting.” That gives the next person a visible point of comparison. When the correction is complete, reopen the revised scene and save the corresponding proof so nobody approves an earlier version by mistake.
Try the bird beside the greeting card
Place the bird from your proof frame beside a photo of the shop’s yellow greeting card in a rough layout. Look at it on your phone. When you follow the bird’s gaze, do your eyes land on the printed message? If the wing covers the first word, lower it in Blender and check the layout again before you settle on the pose.
If you want Stillmore to make the post, send the approved frame as a pose reference and the original card photo so the team can match the yellow and the lettering. You can include a look you like from Stillmore Inspiration. A short brief gives the creative team the direction it needs. “Please make one Instagram image and caption for this card. Keep the bird looking at the message and leave every word readable.”
Conclusion
Stop when you can reopen the editable scene, recognize the mascot from the drawing and point to one still that records the chosen pose. Label the proof with its filename and any outstanding change. For the shop bird, that can be as simple as “Front view approved once the cream patch is visible.” The person preparing the post then knows which pose to keep and which detail still needs work.
Related reading
Resources
| First-party resource | What to check |
|---|---|
| November 19 Gemini release notes | The rollout date, eligible plans, language and region |
| Google's Mac computer-use instructions | Task controls, app permissions, live preview and temporary backups |
| Gemini app for Mac requirements | Supported hardware, macOS version, installation space and update steps |
| Google's Mac computer-use launch demonstration | The butterfly sketch and the Blender modeling and rigging example |
| Inside Stillmore: Our Creative Production Workflow | How the team handles merchant assets and reviews finished creative |
Frequently Asked Questions
Can my Mac run this workflow?
Check that you have a Mac with Apple silicon, at least 8 GB of RAM, and macOS Sequoia 15.0 or later. Google also specifies a stable internet connection and at least 200 MB free to install Gemini. Blender and its project files need their own storage. Open About This Mac to compare your chip, memory and macOS version with those requirements, then open Blender and make sure you can save a scene in the folder you intend to use. Gemini app for Mac requirements
Who can use the feature during rollout?
Google's November 19 rollout covers people aged 18 or older who use Gemini in English in the United States with a personal Google Account and a Google AI Plus, Pro or Ultra subscription. Check the profile icon in the Mac app if you use both personal and business accounts. The account with the subscription needs to be the one you use for the task. A managed work or school account can have desktop app access under a different set of rules. November 19 Gemini release notes
Which permissions does Blender need from Gemini?
Give Gemini permission to operate Blender and enable the Mac permissions Gemini requires for Computer use. In Gemini Settings, open Computer use, turn on access to your Mac, then enable Accessibility and Screen & System Audio Recording. When the task requests Blender, choose Allow once to limit that decision to the current step or chat. Choosing Always allow adds Blender to Allowed apps. To undo that choice later, find Blender in the list, hover over its name and select Remove. Google's Mac computer-use instructions
How do I ask Gemini to work in Blender?
Select Task below the chat box in the Gemini Mac app and include @Computer use in the request. Supply the drawing's filename and folder, tell Gemini to open Blender and specify where to save the editable scene. Include the smallest set of details that lets you recognize this character. For the example bird, that means a short beak, a cream wing patch and a neutral pose that shows the marked wing. End the task after the first save so you can review the file. Google's Mac computer-use instructions
How do I keep the original sketch intact?
Duplicate the sketch before starting and direct Gemini to the copy in a separate working folder. Give the new Blender scene its own name as well. Google says Gemini can try to make temporary backups when on-demand file backups are enabled. Some app content may be excluded, and backups last for 24 hours or until the next prompt. If you need to recover a change, check View backups in the relevant chat before issuing another instruction. Keep your own original for future revisions. Google's backup instructions
Can I watch the scene take shape and stop a wrong edit?
Yes. Gemini shows a live preview in the chat while it operates the desktop app in a separate window. Open Full screen to read a filename or inspect which app it has opened. Click Stop task if you see the original artwork, an unexpected application or an edit you want to interrupt. After stopping, open the working folder and see what was actually saved. Use that file to decide whether to continue from the draft or return to a fresh copy. Google's Mac computer-use instructions
What should I check if Computer use is missing?
Check your account and the rollout conditions, then update the Gemini Mac app and look under Task. The November 19 release specifies English in the US, age 18 or older, a personal account and an eligible Google AI subscription. In the Mac app, choose Check for Updates from the Gemini menu and install the offered update. Reopen Settings to look for Computer use. Google describes a rollout, so its public announcement gives no activation date for an individual account. November 19 Gemini release notes · Mac app update instructions
How do I judge whether the mascot still looks like my drawing?
Match the drawing's angle first, then compare the outline and the features someone would use to recognize the mascot. For the shop bird, look at how far the triangular beak sticks out and how much of the cream wing patch is visible. Turn the view a little to see whether a change in camera angle explains a mismatch. Finally, look at the proof at post size and write down the first identifying detail that disappears. This applies the same attention to visible details that a creative team gives product imagery. Stillmore's creative workflow
Does a rigged Blender demo mean my mascot is ready to animate?
Your own mascot needs a movement check before you plan an animation. Google's launch example shows a butterfly sketch used for a Blender modeling and rigging task. To judge your scene, open a copy, select the intended control and try one small movement you actually need, such as lifting the marked wing toward a greeting card. Watch the shoulder and the cream patch as the wing moves. If they distort, record that specific problem and keep the neutral pose as your reference. Google's Mac computer-use launch demonstration
What should I keep after reviewing the scene?
Keep the editable Blender scene, one labeled proof still and a short note recording the decision. Reopen the saved scene before sharing the still to make sure the two show the same version. In the note, identify the reference drawing, the approved angle and any change the next person should make. A colleague reviewing the bird on a phone can use the still, while the person revising the wing can use the editable file. Include the shop's original product photo when the project moves into promotional production. Stillmore's creative workflow
How can I turn the approved pose into a finished shop post?
Give the production team your approved mascot view, a clear photo of the product and one sentence about what the post should communicate. For a greeting card, the sentence might ask for the bird to look toward the printed message and leave every word visible. Stillmore can use that direction and the merchant's photos to plan, produce and check a finished image or video and prepare a caption. Once you receive the creative, you choose the channel and publish the post. Inside Stillmore: Our Creative Production Workflow

About the author
Lan He
I'm Lan. Years of writing promotional and editorial work in the US, mostly for companies with big audiences and bigger expectations — where a single article might reach hundreds of thousands of readers, and where the good ones kept earning traffic long after the campaign ended. I learned what makes a page survive that: one clear audience, one real question, images that show the actual work, and a structure that keeps people reading. Now I write for small business owners who do everything themselves, answering the questions they actually ask: what's worth posting, which photos are worth taking, and how to tell one story across images, video, and words. I've seen good content carry a small company further than its ad budget ever did.
Give them a reasonto stop by.
Send us your phone photos. Get posts ready to share.
See what we can make
Keep exploring
All stories ↗- News
How to Use Inkling 2 Mini for a Product Photo Reshoot List
Give Inkling 2 Mini a product photo and one shopper’s question, then ask for a written list of views that would answer it. Hugging Face’s Transformers example takes a local image and a prompt together. A photo of a zipped pouch might show the pull clearly while leaving the inside a mystery. Check your existing photos before booking a reshoot. If you need a new shot, open the pouch and make sure its base is visible at posting size. Stillmore can use the checked photos and your product notes to make a finished social image or short video with a caption for you to publish.
- News
How to Use Gemini 4 Neon to Log Product Footage and Find Missing Shots
Ask Gemini 4 Neon to log each visible action, match the rows to your required shots, then replay the matches to decide what you still need to film. Supply the original clips, the approved product specifications and a brief that lists each required view. A faint click in a travel mug clip tells your editor where to look. If a thumb hides the latch, check another take before booking a side close-up. For a launch post built from product photos, Stillmore can plan, produce and check the visuals and supply a caption for you to publish.
- News
How to Use Genie 4 to Plan a Store Launch Shot
Use Genie 4 in Project Genie to rehearse the path from your store entrance to the launch display, then write down where the camera starts, how it moves and what fills the last frame. Start from a clear entrance photo or describe the view and refine the image preview. Try the approach and the turn separately so you can tell when the product comes into view. Check its appearance against a real product photo. When you want a finished launch post, Stillmore can use your photos and launch details to plan, produce and check a short video and caption for you to publish.